The Raspberry Pi runs a simple python script waiting for an input from the button press. Once pressed the script contacts the Unifi controller, requests a wireless access code, adds some formatting and prints. The code for the Raspberry Pi and Unifi can be found on GitHub. The thermal printer is available from Amazon.
With that, lets get into how to do it.
Connecting the Button
Required Tools:
- Soldering iron
Required Hardware:
- Momentary pushbutton (LED-lit optional)
- 10k ohm resistor (1/4 watt)
- 22 gauge wire
Optional Hardware: heatshrink 5×2 2.54mm (.1″) female header
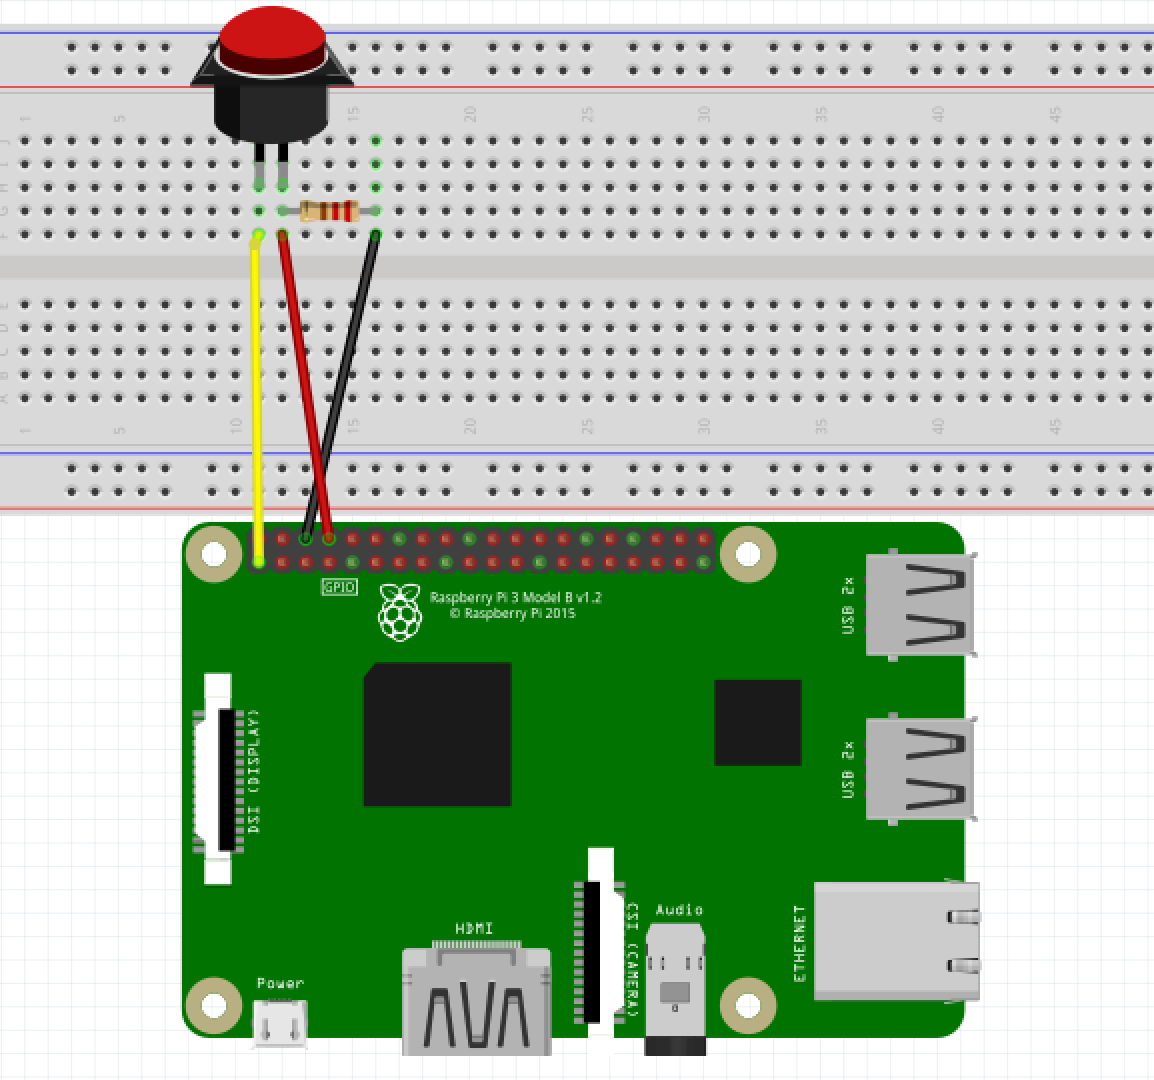
The button requires only 3 pins on the Pi to be connected and a 10k ohm resistor. Pin 2 (3.3V) pin 5 (Ground) and pin 7 (GPIO 14 / TX). Pin 2 is used to Power the button LED and provide the positive rail for the common pin on the momentary switch. Pin 5 to provide a ground for the LED and to connect one side of the 10k ohm resistor to. And pin 7 to be connected to the Normally Open (NO) pin of the switch as well as the other leg of the 10k resistor to prevent the GPIO pin from floating. We used a 2×5 pin female 2.54 mm (.1″) connector and some 22 gauge wire to connect everything.
Here’s the fritzing verion:
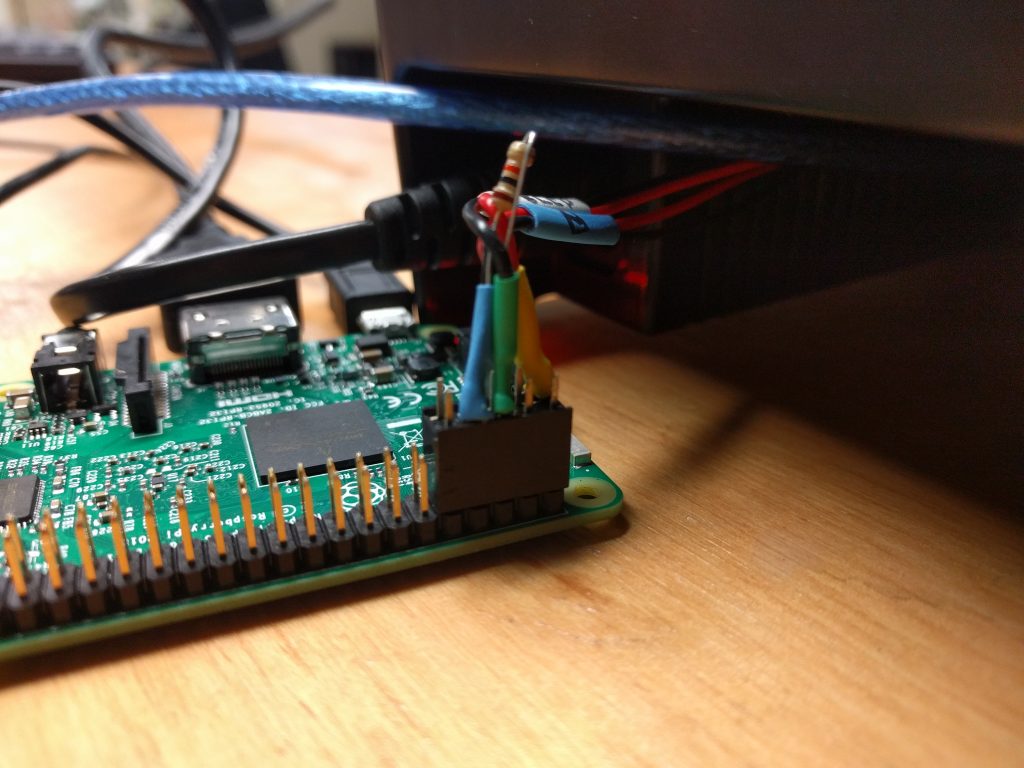
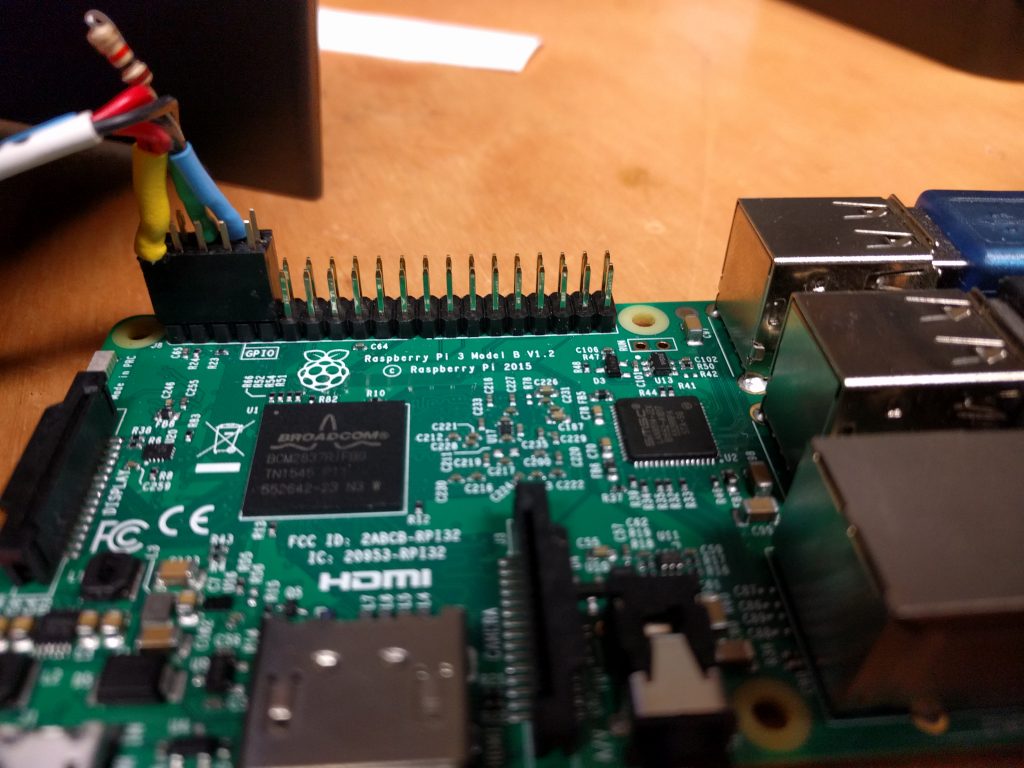
Closeup of the completed wiring harness on the Pi for reference:
Now that everything is connected together, it’s time to install the software that powers it.
Setting Up the Controller
The script that runs on the controller accesses the controller’s MongoDB database directly, so first, install git as well as the library for that. Our wireless controller runs CentOS, where the commands to do that look like the following:
# yum install http://dl.fedoraproject.org/pub/epel/epel-release-latest-7.noarch.rpm
# yum install git pymongo
With the libraries installed, it’s time to grab the script:
# git clone https://gist.github.com/gholms/760fa4f6621c91001b9f2b449e4e4155 wifi-button
# cd wifi-button
The script needs to know the internal ID number of the site in your Unifi controller in order to add everything to the database correctly. Once you have this number, open the script in your favorite text editor and edit the UNIFI_SITE line.
# ed voucherator.py
Finally, install the script and tell systemd to run it when the system boots.
# cp voucherator.py /usr/local/bin/voucherator
# chmod +x /usr/local/bin/voucherator
# cp voucherator.service /usr/local/lib/systemd/system/voucherator.service
# systemctl daemon-reload
# systemctl start voucherator.service
# systemctl enable voucherator.service
Don’t forget to allow traffic through the controller’s firewall if necessary. By default, the script uses TCP port 8080.
With the controller’s setup complete, it’s time to set up the Raspberry Pi to manage button presses and the receipt printer.
Setting Up the Pi
To install the script on the Raspberry Pi open the terminal or SSH in from another computer.
Next, install the script’s dependencies that are packaged as part of Raspbian. These commands will vary if your Pi happens to be running another operating system.
$ sudo apt-get update
$ sudo apt-get install git build-essential python3-rpi.gpio
Now install the python printer interface and requests library.
$ pip install python-escpos requests
With the repositories installed its time to grab the scripts.
$ git clone https://gist.github.com/gholms/760fa4f6621c91001b9f2b449e4e4155 wifi-button
$ cd wifi-button
The top of the button-managing script has a couple settings that you should tweak as well.
$ ed buttond.py
At a minimum, you should edit the VOUCHER_URL setting to tell it where to find your voucher-creating server. For example, if you need to access it using the IP address 192.0.2.1 then that setting may look something like the following:
VOUCHER_URL = 'http://192.0.2.1:8080/voucher/new'
The script also assumes you have a cool logo installed at /srv/voucherprinter/logo.jpg. If you have such a logo and you put it somewhere else instead, edit the LOGO_PATH setting. If you do not have such a logo, comment out the line of code that attempts to print it further down in the script. We should improve this in the code later.
Next, install the script and set it up as a service so it can run when the Raspberry Pi starts:
$ sudo cp buttond.py /usr/local/bin/buttond
$ sudo chmod +x /usr/local/bin/buttond
$ sudo cp buttond.service /usr/local/lib/systemd/system/buttond.service
$ sudo systemctl daemon-reload
$ sudo systemctl start buttond.service
$ sudo systemctl enable buttond.service
Now connect the Pi to your network, press the button, and see if it works!
Here’s our finished printer with a sleek built in button and all the Raspberry Pi bits tucked into the printer for inspiration:
]]> To Sign up please visit: http://sbhackerspace.com/shop/
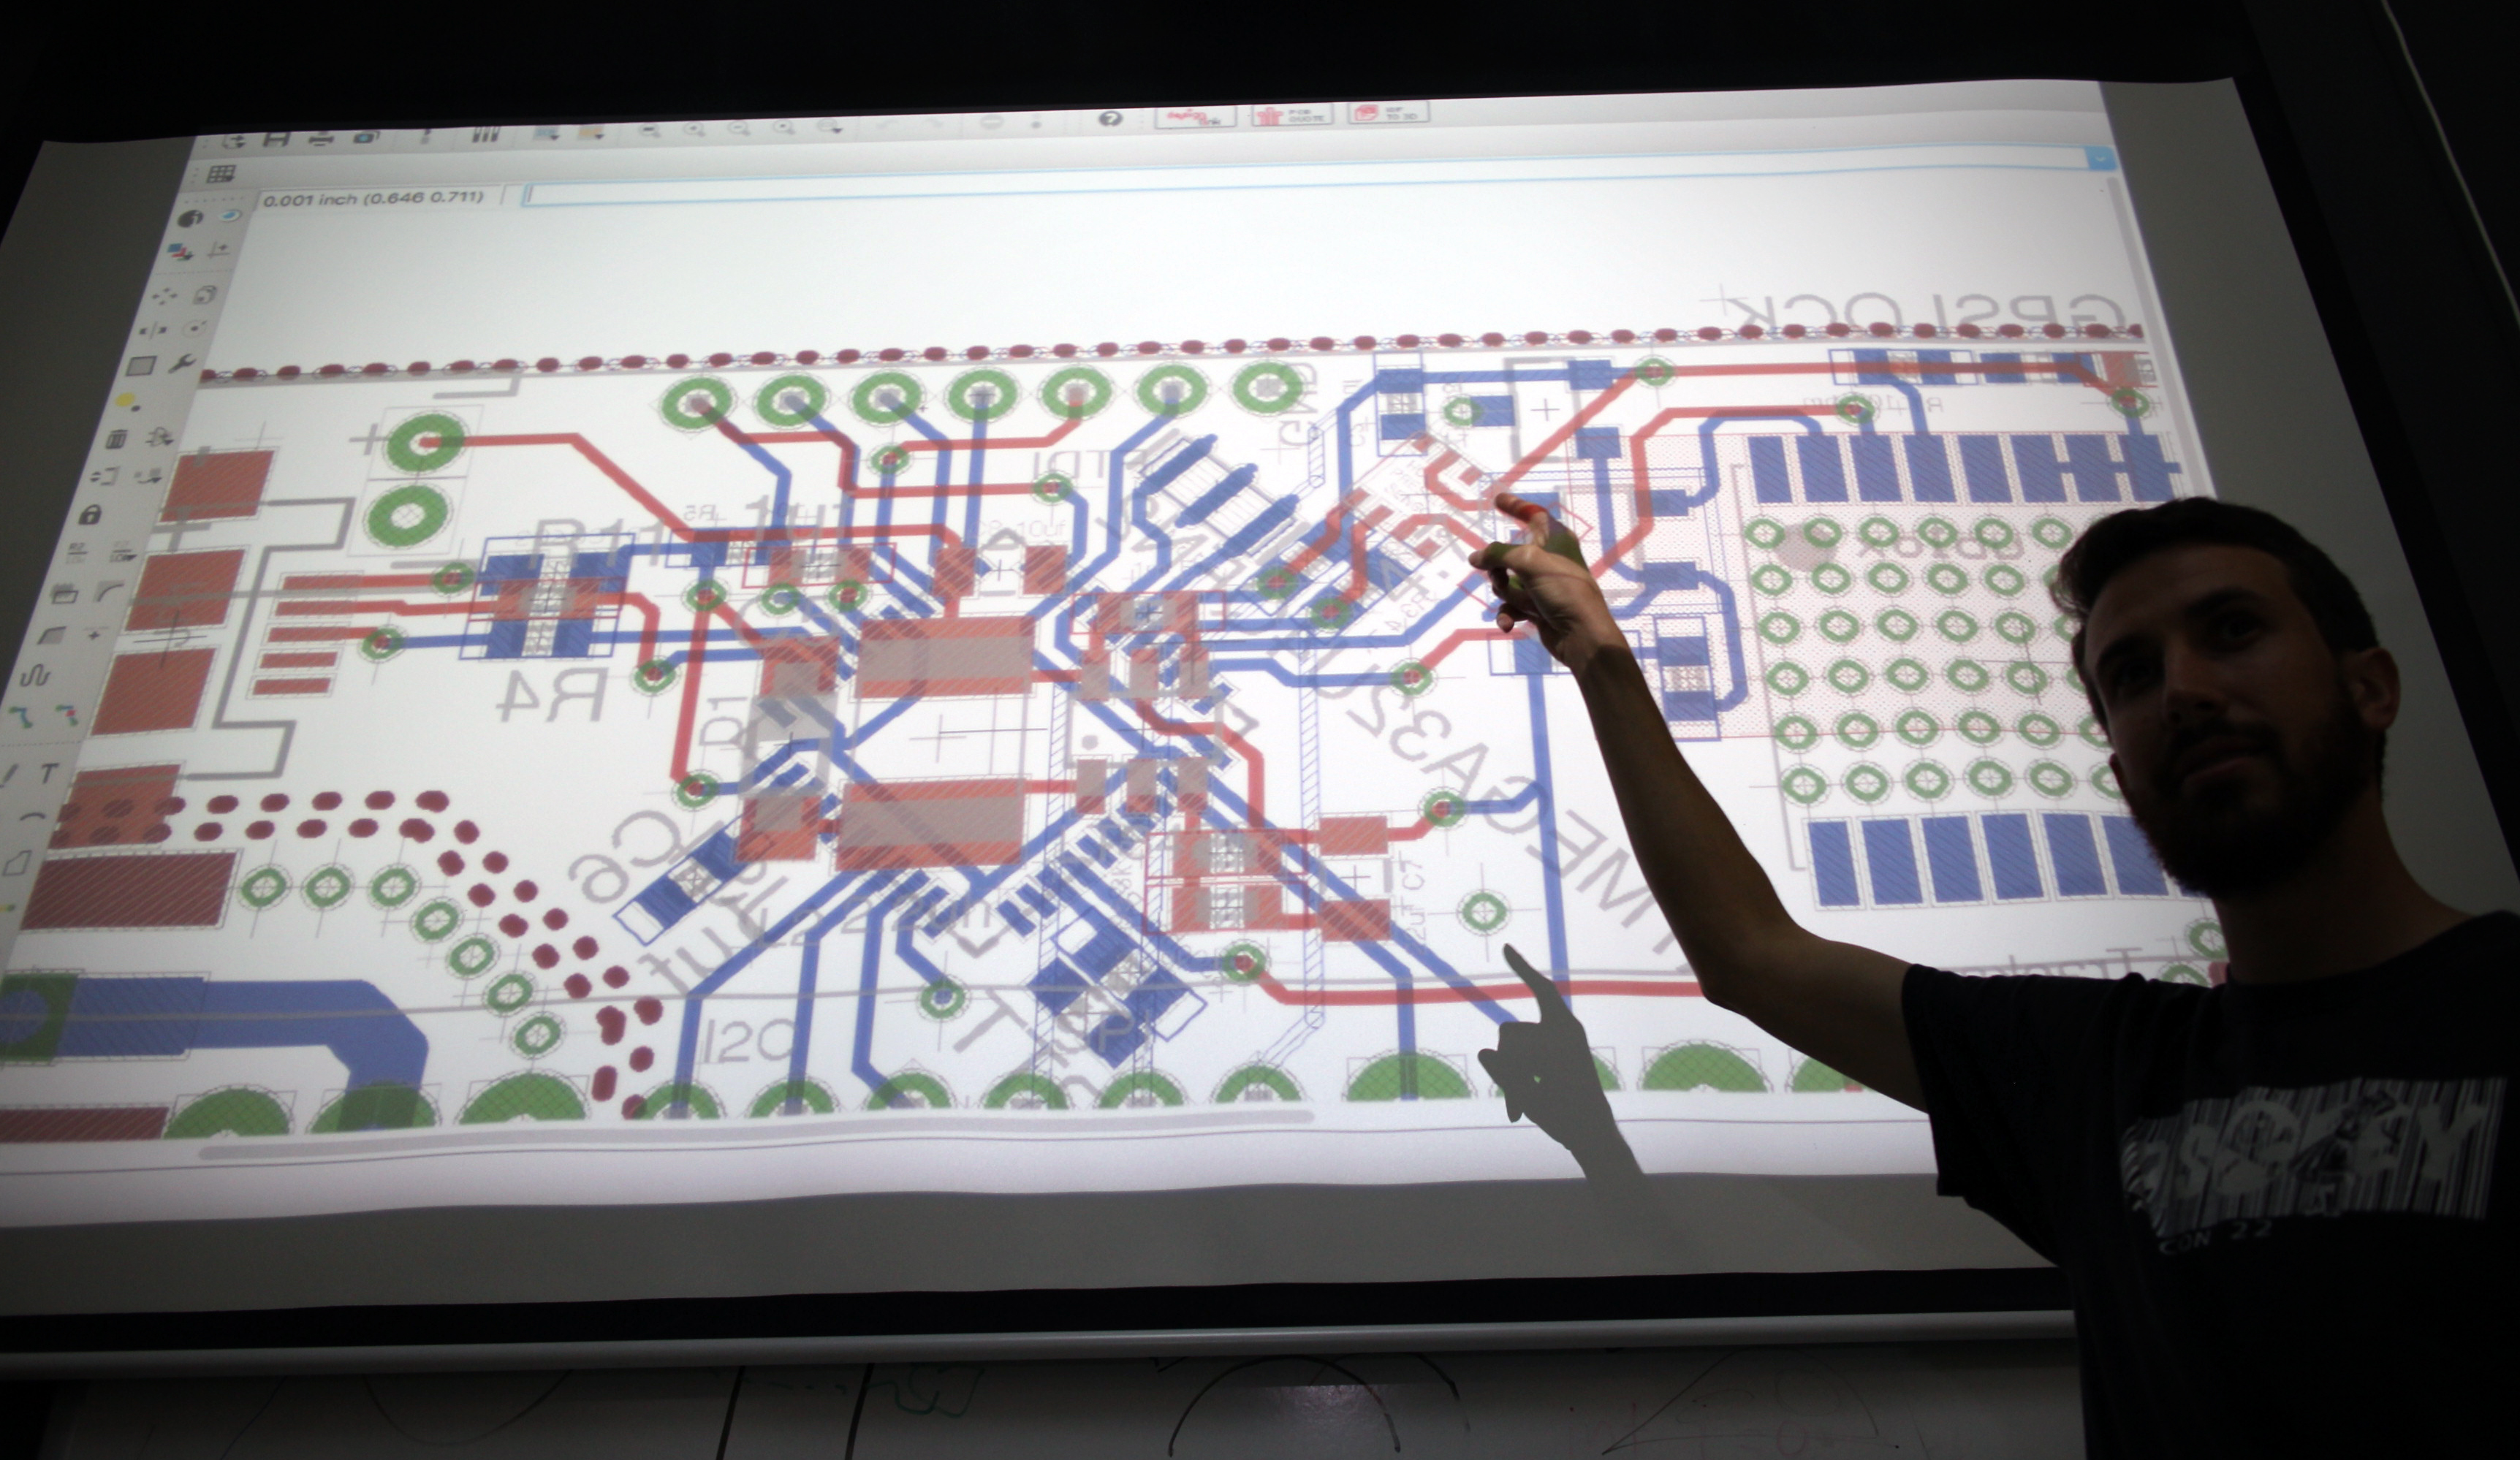
and select the Eagle CAD class and checkout, payment is available via PayPal, credit, cash, or check. If you would like to pay with cash or check please email info@sbhackerspace.com so we can reserver your spot for the class.
To Sign up please visit: http://sbhackerspace.com/shop/
and select the Eagle CAD class and checkout, payment is available via PayPal, credit, cash, or check. If you would like to pay with cash or check please email info@sbhackerspace.com so we can reserver your spot for the class.